This often means applications can run faster, using the disk write cache to ensure they don’t have to wait for data write requests to actually write to the disk before they can continue. Windows write caching is typically enabled for internal drives by default because of this, but external hard drives or USB drives often don’t use the feature, which can lead to a slow external hard drive. On the other hand, when you enable write caching you’re introducing a larger chance of data loss. As objects in memory don’t persist across a reboot, sudden power failure or removal of an external drive may mean that some data is irreversibly lost. As a result, there are good reasons to enable or disable the disk write cache, and we’re going to show you how to do that today.
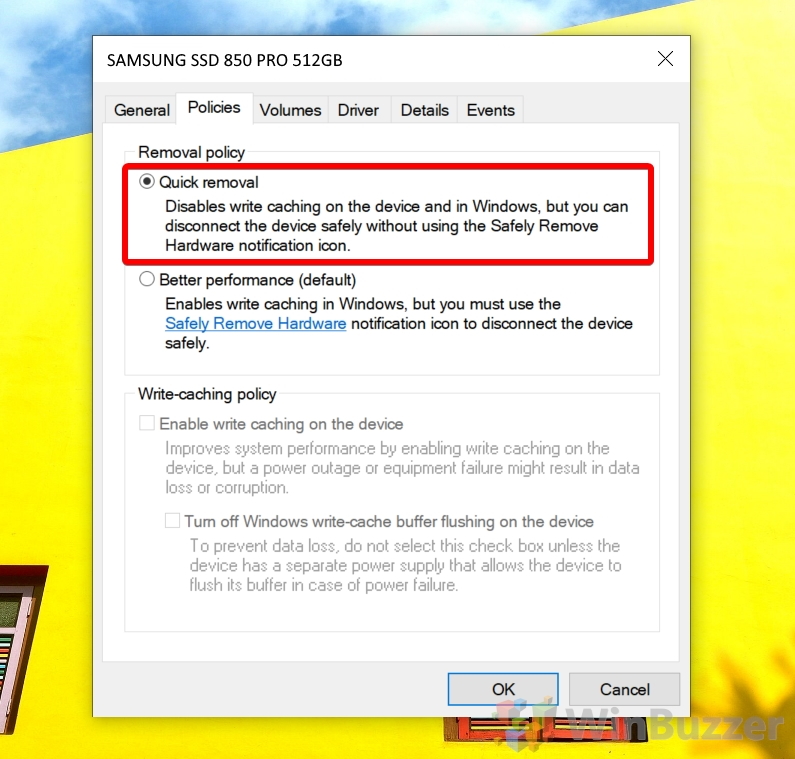
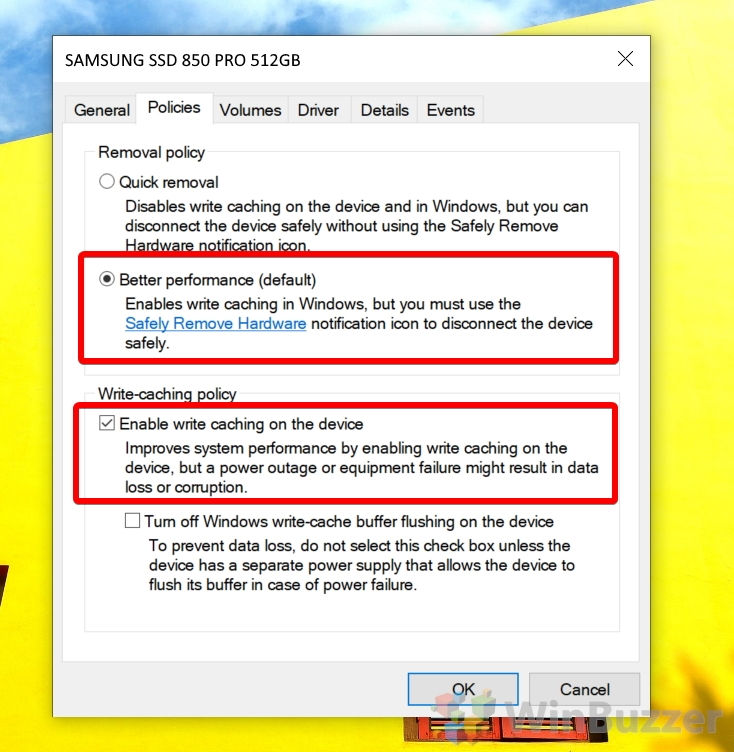
How to Enable or Disable the Disk Write Caching Policy via Device Manager